
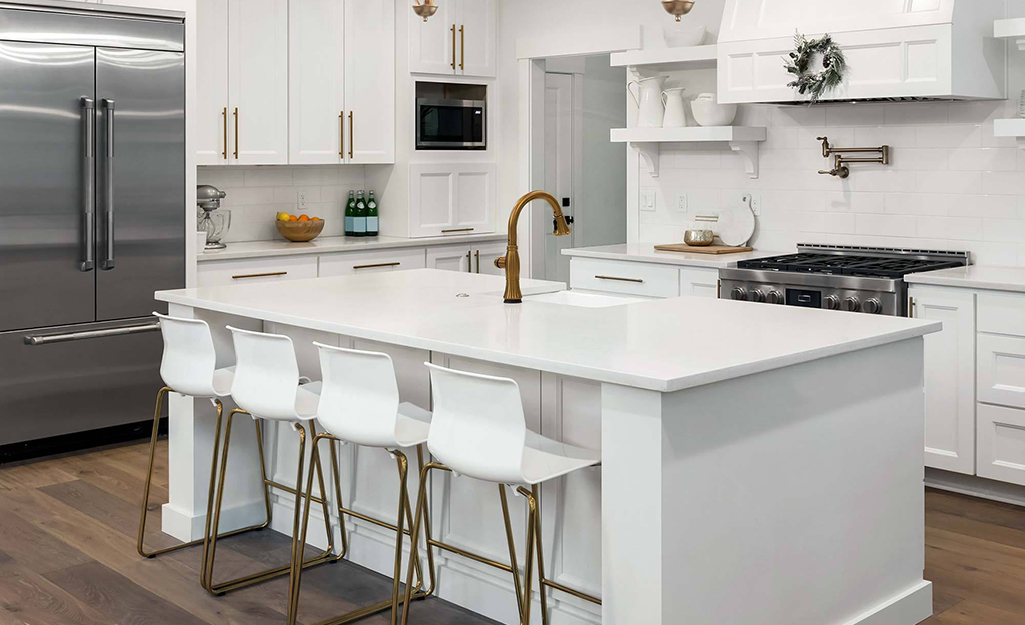
Designing a kitchen is easily one of the most rewarding home projects you can tackle. The kitchen is no longer just a room tucked away for cooking; it serves as the living, breathing heart of the home. It is where families catch up over breakfast, friends linger during weekend get-togethers, and quiet morning routines take shape.
A great kitchen does not happen by accident. It takes a solid vision, realistic budgeting, and practical choices that stand up to daily life. Whether you are aiming for a sleek modern space, a warm traditional haven, or a casual family hub, sourcing reliable materials from places like Home Depot México makes it easy to bring your ideas to life without blowing your budget.
Step 1: Design Around Your Daily Routine
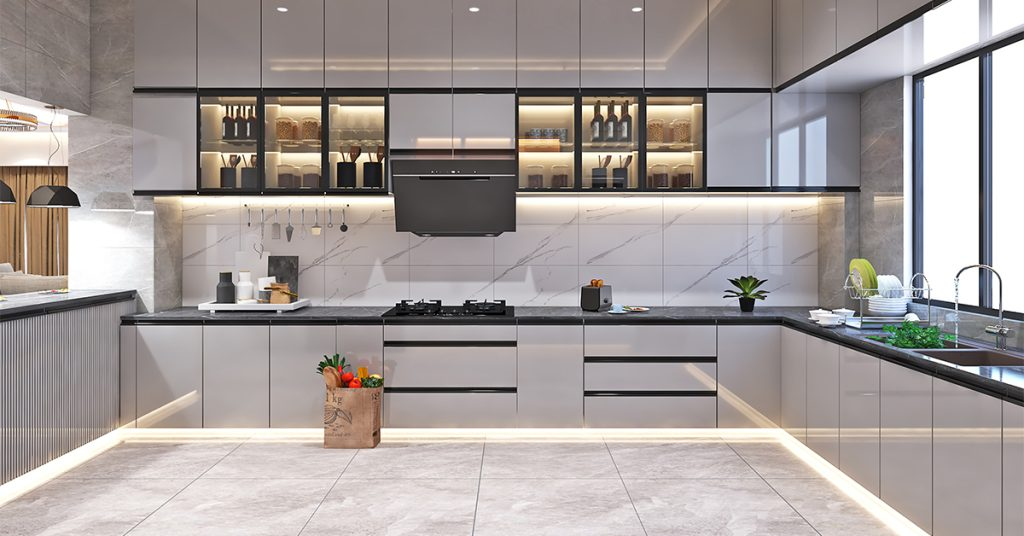
Before you fall in love with a specific cabinet door or marble pattern, step back and think about how you actually live in your space. The best designs prioritize everyday habits over short-lived internet trends.
- Cooking Styles: Do you meal-prep heavy feasts every night, or do you mostly need a streamlined space for light meals and entertaining?
- Storage Needs: Do you carry a deep inventory of pantry staples and specialized gadgets, or do you prefer clear, open surfaces with minimal clutter?
- Household Foot Traffic: Do multiple people cook at the same time, or is the kitchen usually a one-person zone?
Step 2: Establish a Smart, Effortless Layout
A dream kitchen must work smoothly day in and day out. The layout determines how you move between the fridge, sink, and stove—traditionally known as the kitchen work triangle.
+--------------------------------------------------------------------+
|                      THE EFFICIENT WORK TRIANGLE                   |
+--------------------------------------------------------------------+
|                                                                    |
|                       [ STORAGE ZONE ]                             |
|                        Refrigerator                                |
|                             /\                                     |
|                            /  \                                    |
|                           /    \                                   |
|                          /      \                                  |
|                         /        \                                 |
|      [ PREP & CLEAN ]  /__________\  [ COOKING ZONE ]              |
|        Sink & Trash                    Stove & Oven                |
|                                                                    |
+--------------------------------------------------------------------+
- Small Spaces: Focus on vertical storage. Use slender cabinets that extend to the ceiling, wall-mounted utensil rails, and compact appliances to keep counters clear.
- Large Spaces: Divide the layout into distinct activity zones: prep, cooking, cleanup, and social seating. Keep the main pathways open so guests can relax without getting in the cook’s way.
Step 3: Choose Cabinets That Balance Style and Storage
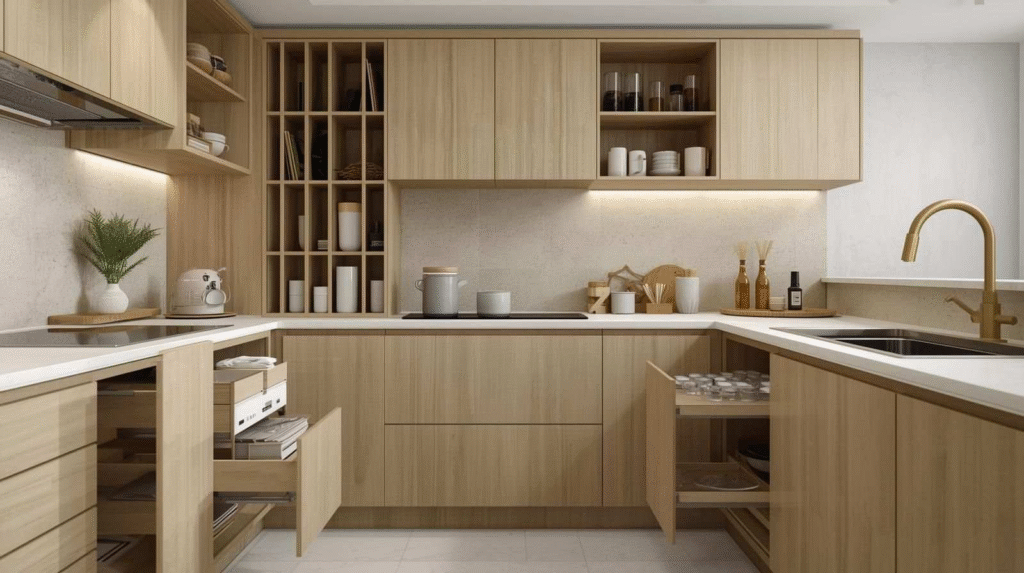
Cabinets cover the majority of your wall space, setting both the aesthetic tone and structural layout of the room.
- Color & Atmosphere: Light tones like creamy white, soft gray, or pale beige make small kitchens feel bright and airy. Deep blues, rich greens, and warm wood textures bring depth and grounding personality.
- Internal Functionality: Pretty doors are only half the battle. Prioritize internal storage like deep pot drawers, pull-out spice racks, corner lazy Susans, and adjustable shelving to keep counters clutter-free.
- Durability: Kitchens face heat, steam, and constant impacts. Look for sturdy materials and heavy-duty hardware that can handle daily wear without warping or sagging.
Step 4: Pick Practical Countertops
Countertops take the heaviest abuse of any surface in the house. Choosing the right material comes down to balancing beauty, budget, and how much time you want to spend on maintenance.
| Countertop Type | Best For | Stain Resistance | Maintenance Level |
| Quartz | Busy family homes & heavy cooks | Very High (non-porous) | Low (no sealing required) |
| Granite | Traditional kitchens & high-heat cooking | High (when sealed properly) | Medium (requires periodic sealing) |
| Laminate | Budget-friendly remodels & rentals | Moderate | Low (easy daily wipe-down) |
| Butcher Block | Rustic accents & food prep areas | Low to Moderate | High (needs routine oiling) |
Step 5: Upgrade Your Fixtures and Sink
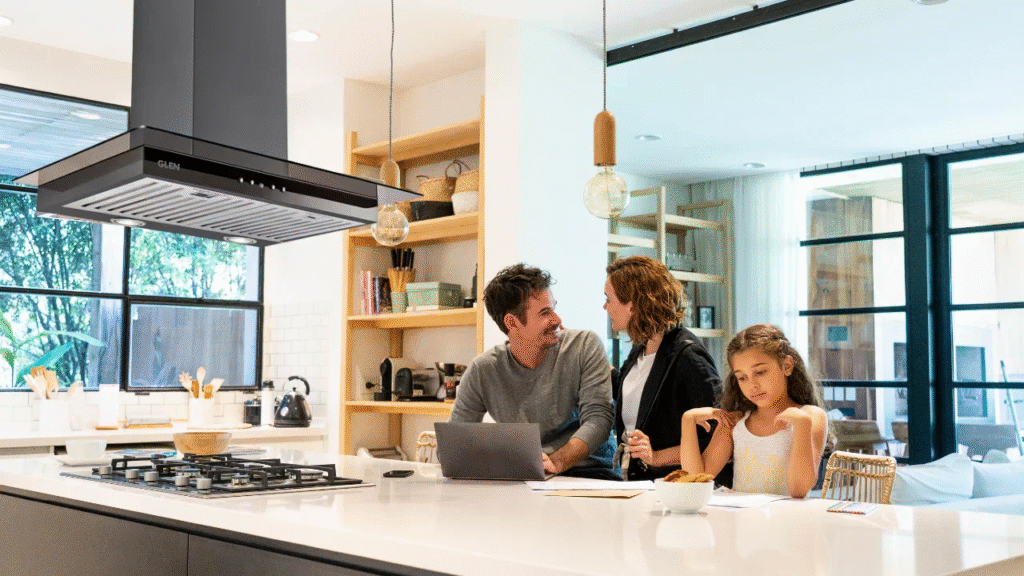
The sink zone is the workhorse of the whole room. A deep, single-basin sink gives you plenty of space to wash heavy pans and baking sheets, while a double-basin setup lets you wash dishes on one side and prep produce on the other.
Pair your sink with a high-arc, pull-down faucet. Finishes like brushed nickel, matte black, and stainless steel are popular because they hide water spots, resist fingerprints, and pair effortlessly with most design schemes.
Step 6: Layer Your Lighting Design
A single central ceiling light creates harsh shadows right over your prep stations. A thoughtful kitchen layout uses three distinct layers of light:
- Task Lighting: Under-cabinet LED strips cast light directly onto counters so you can chop food safely.
- General Lighting: Recessed ceiling fixtures or central flush-mounts keep the entire room clear and bright.
- Accent Lighting: Decorative pendant lights over an island or dining nook add warmth and visual character.
Step 7: Select Appliances That Fit Your Workflow
Pick appliances that support your actual lifestyle rather than over-buying features you will never use. High-capacity refrigerators and wide ranges are great for large families, while compact, high-efficiency options save valuable square footage in smaller homes. Matching your appliance finishes creates a clean, cohesive look.
Step 8: Add Personal Touches and Finishing Details
The final details turn a basic kitchen build into a space that feels like home:
- Backsplash: Tile backsplashes protect your walls from splatters while adding texture, pattern, or color.
- Hardware: Drawer pulls and cabinet knobs act like accent jewelry, tying your fixtures and finishes together.
- Flooring: Durable porcelain tile or water-resistant luxury vinyl plank (LVP) stands up to spills and high foot traffic.
Frequently Asked Questions
1.What is the best way to start a kitchen renovation?
Begin by defining your budget and mapping out how you use the room daily. Select your layout, cabinets, and main appliances first, then layer in countertops, lighting, and decorative finishes.
2.How do I make a small kitchen feel larger?
Use light wall and cabinet colors, extend upper cabinets to the ceiling, install under-cabinet lighting, and choose compact, panel-ready appliances.
3.What countertop material requires the least amount of care?
Quartz is engineered to be non-porous, making it highly resistant to stains, bacteria, and moisture without ever needing to be sealed.
4.How do I keep my kitchen design from looking outdated quickly?
Stick to classic cabinet profiles (like Shaker style), neutral base colors, and timeless materials. Use hardware, lighting, paint, and accessories to introduce modern trends, as these are easy and inexpensive to swap later.